Tomatoes take a relativley long time to grow from seed, 6 to 8 weeks before they reach transplanting size. From cuttings you can attain transplant size in 2 -3 weeks. If you want more tomato plants and simply don’t have enough time in your growing season you can actually clone existing plants.
Most Gardeners are familiar with rooting perennials, and even house plants from cuttings. Soft annuals such as Tomatoes can be cloned in much the same fashion.
Tomato plants are easy to propagate via cuttings. The cells of the stem are undifferentiated plant cells that can develop into any plant part. These cells are concentrated in the plants meristem.
Other edible Plants that can be propagated from cuttings include Rosemary, Mint family plants such as peppermint and spearmint, Currants, Basil, Lemon Verbena, some other nightshade family plants such as peppers and eggplant.
The technique and timing varies slightly from plant to plant. A cutting is generally started from a softwood cutting.

The stem cells of a tomato plant stem can easily develop into roots under the proper conditions. You can root tomato plants in a cup of water, but your success rate will be reduced and time period from cutting to transplant increased, even when you are successful. They can also be rooted in soil, but the best mode is using a media to get them them started . An excellent media is an inexpensive perlite – vermiculite blend.
Taking a Cutting
Cuttings should be taken from a healthy and well hydrated plant. A dry, aged and Desiccated cutting does not allow for the process of cellular regeneration that takes place in cuttings.
Dawn is the best time to take a cutting, the plant tissues contain the most moisture early in the morning.
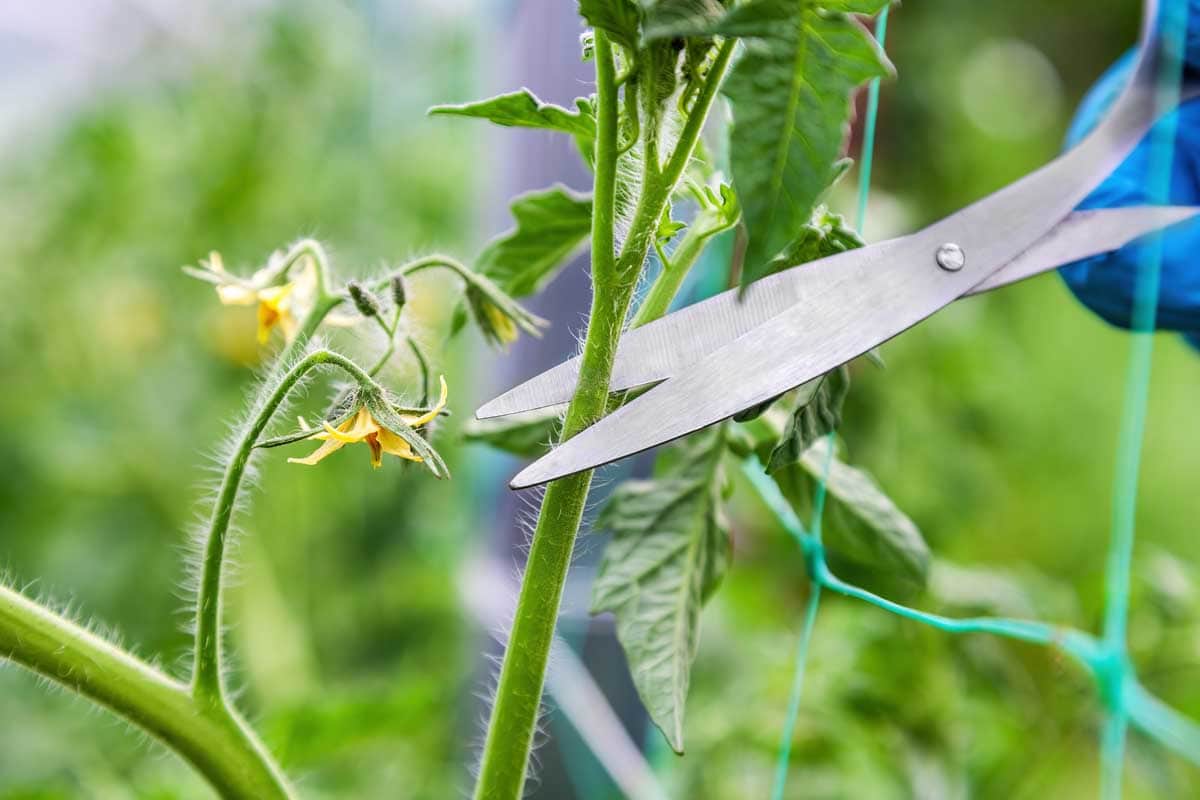
When you’ve selected a healthy plant that you’d like to clone remove the cutting from the parent plant with a sharp clean implement. The blade is best sterilized with a flame or alcohol to avoid introducing unwelcome pathogens to the parent plant or the cutting- what you didn’t sterilize it ?! Oh well – Ciest la vie – chances are you’ll get away with it just fine , but maybe not.
Your cuttings should be 4-6 inches in length and from the upper part of the plant. Remove any excess foliage / leaves, flowers or buds from the lower third of the cutting, leaving only a bare stem. This reduces the amount of leaves that must be fed by the cutting and cuts down on lost moisture. Cut any leaf nodes. Leaf node are small swellings in a plant stem from which leaves emerge. The area of the leaf node contains plant tissue known as meristem. Meristem is undifferentiated plant tissue from which new cells are formed.
The cells of the meristem will rapidly divide to form a callus and seal bruised ends of the cutting. Bruising in the area of the meristem will expedite rooting. You should also be making an small shallow cut on either side of the cuttings lower end to expose more of the cambium.
To ensure that your new cutting grows up to be a fine upstanding member of the plant kingdom you’ll want it to have every possible advantage. A good mediumis the first step. Some plants will regenerate just fine in water alone, some will rot and die. The best medium is a soilless one similar to that used in hydroponics.
Rooting Media
The best rooting media available [IMO] is a 50/50 blend of Perlite and vermiculite. Perlite is composed of minerals that have been subjected to high heat which caused it to “plump” up and expand.
Vermiculite retains an amazing amount of water, 200% – 300% by weight. Perlite does not retain nearly enough water, it moves water through transpiration, but does not actually hold or retain any substantial quantity. A 50-50 blend of perlite and vermiculite works well in that it allows for hydration and oxygenation of the developing roots.
Before you place your cuttings in their containers there are a few optional steps you may want to take
Optional Steps
B. Cinnamon works well as a rooting agent. Cinnamon powder applied to the stem when planting a cutting will stimulate root growth in most plants. Roll the dampened ends of plant cuttings in cinnamon and it will encourage the growth of additional shoots. At the same time it will keep the cutting disease free while it is developing. I’ve heard of people mixing Honey with the cinnamon and then rolling the cutting in it – which sounds feasible as the honey has anti-bacterial properties and will also serve as a nutrient for the cutting. See – Cinnamon Fungicide and Rooting Plants
Step by Step Instructions
1. Fill your containers with a 50/50 blend of perlite and vermiculite.
Perlite is composed of minerals that have been subjected to high heat which caused it to “plump” up and expand.
Vermiculite retains an amazing amount of water, 200% – 300% by weight. Perlite does not retain nearly enough water, it moves water through transpiration, but does not actually hold or retain any substantial quantity. A 50-50 blend of perlite and vermiculite works well in that it allows for hydration and oxygenation of the developing roots.
2. Take cuttings of 5 – 6 inches each. Remove any flowers or buds. Remove the bottom leaves leaving only two leaves near the top of the cutting.
3. Put the cuttings into the perlite blend, don’tram it in -rather clear a space for it then gently move the blended media back around the butt end of the cutting to keep it anchored in place. It should be buried deep enough into the perlite so that the spots where you removed the lower leaves from is buried – this is where most of your new roots will be developing.
4. Keep the cuttings warm and shaded. Steady Direct sunlight will kill them.
5. Keep them warm, moist and shaded for at least a week.
6. In the second week, you should see new root systems developing. Its at this point that you’ll want to gradually reintroduce the cuttings to sunlight – I said gradually , a wee bit at a time.
7. By the third week, your cuttings should be ready for transplant into the garden.