
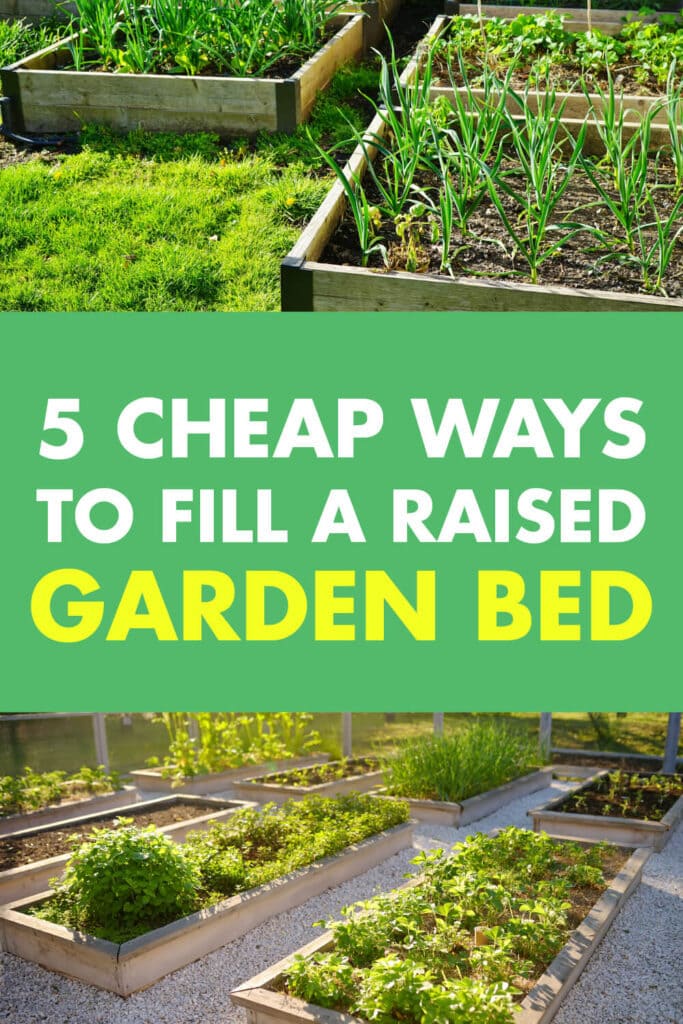
Raised bed gardening is one of the most enjoyable forms of gardening there is. It is incredibly convenient, yet still fulfilling. You’ll have far less weeding to do, you have total control of your soil, and best of all, you can do it for cheap.
However, before you get started, you’ll need to find the best way to fill your raised garden bed. Sometimes that seems daunting—you don’t want to break the bank, but you also want to make sure your plants can thrive. The fact is, no matter how much hard work and care you put in, if you have poor soil, your plants will suffer.
But thankfully, that doesn’t mean you need to pay big money for a successful raised garden bed. Follow along, and we’ll give you everything you need to know to learn how to fill a raised garden bed for cheap.
Raised Garden Bed 101

Before we start, what exactly is a raised garden bed, and why should you use one? A raised garden is a planter bed that you place on top of the ground rather than planting directly in the soil. The bed is typically made from wood or plastic, but could also be made out of stones, metal, cinder blocks, or even straw bales.
If you’re feeling handy, you can build a raised garden bed yourself, but you can also easily buy one pre-made. And there are copious reasons to do so. There are fewer weeds, and it’s easier to rid yourself of the ones you do have.
Your soil will get warm earlier in the spring season and stay warm for a longer time. Further, you won’t have to walk over your garden, which means the soil won’t get compacted. That will allow your plants to grow healthier, as they require more spacious soil to thrive. That allows for more drainage space as well.
Further, raised garden beds have excellent water retention, and the soil will generally have a neutral pH as you have total control over the soil. And, of course, if the raised bed has a strong frame, it will have significantly less soil erosion than a standard garden.
It’s clear, then, that raised garden beds are significantly more convenient than typical gardens. But they’re every bit as enjoyable and rewarding to cultivate.
Things to Consider Prior to Filling Your Garden Bed
Before we move on to the specific methods, let’s take some time to address what you need to consider.
What You’re Planting
First things first, you’ll need to think about what you plan on planting in your garden bed. As you surely know, some plants have longer roots, and others will be shorter. That will determine the amount and depth of quality soil you’ll need to include.
Someone cultivating plants with shallow roots will only need about 6” to 8” of quality soil at the top, with bulk underneath, whereas plants with longer roots will need 18” to 24” of quality soil. Drought-tolerant plants, in particular, will have longer roots and require deeper soil.
Allowing for Proper Drainage
Your quality soil will go at the top of the bed. That means you’ll need to be sure that the bottom of the raised garden bed will have suitable drainage. You’re probably wondering, should I put rocks in the bottom of my raised garden bed?
While conventional wisdom often encourages people to put rocks on the bottom layer of planters, but in a raised garden bed, rocks can actually be counterproductive as they’ll create a water table that prevents good drainage. Instead, you’ll be much better off with some organic materials.
Arguably the best material to line the bottom layer of your is some older wood. You could also include the leftovers from your yard work—grass clippings or raked up leaves.
Unfinished compost will also work as well. No matter what, you want to make sure it’s something that will naturally decay and contribute to the soil while allowing the bed to drain.
Total Volume
Finally, you’ll need to calculate how much total soil you’re going to need. First, determine the depth of quality soil you’ll need, on top of the blended soil and bottom layer. Then, simply calculate the total volume based on that depth multiplied by the length and width of the raised garden bed.
Check out this soil calculator.
If you’re wondering how high should I fill my raised garden bed, it’s not an exact science. Just leave a little bit of room under the top of the walls.
Cheap Ways to Fill a Raised Garden Bed
Now that you have a general idea of what to look for, let’s take a look at the five best options for how to fill a raised garden bed for cheap. Follow along now:
1. Core Gardening
The core concept of core gardening (pardon my pun) is to create an inner sponge that will retain moisture for the plants. Build a trench right down the middle of the raised bed, about 8” to 12” deep. Fill that trench with wet organic material—ideally old straw bales. Next, pack the core down tightly and water the core thoroughly. Then fill in the rest of the bed.
The core gardening process has an array of unique benefits. The sponge core should hold water for the entire season, which means significantly less watering for you. Meanwhile, the surface of the soil stays dryer, which provides a whole host of perks.
First of all, an overly wet soil surface can lead to both disease and weeds. Since the core is the main source of moisture, there will be less room for fungus and mold to take hold. And weeds need water for their seeds to germinate. Finally, the roots of the plants will have to reach deeper to find the moisture, which leads to a stronger system of roots overall.
2. Ruth Stout Garden Bed
The Ruth Stout garden bed is the easiest method on the list, and assuming you have free access to hay, the least expensive as well. However, you’ll need to build a raised garden bed with no bottom, so the garden can interact directly with the ground below.
The namesake of the method, Ruth Stout, was a gardener and author who was one of the first to champion the benefits of thick mulch. The method involves maintaining 8” of mulch at the top of your garden bed at all times. Start with a layer of compost along the bottom, then plant the seeds directly in the compost. Now, layer 8” to 12” of hay on top of the seeds.
That will help build ideal gardening soil fast, and you can continuously plant in the same way, just adding more hay as you go.
3. Back to Eden Bed
Here we have a similar conceptual approach to the Ruth Stout garden bed. Likewise, the Back to Eden method is all about avoiding extra work by allowing nature to do the work for you.
Where the Ruth Stout method utilizes hay as the top layer of mulch, Back to Eden uses wood chips, along with some composted chicken manure. Start by filling the raised garden bed about halfway with an even mixture of manure and topsoil. That’s when the wood chips come in—add about 4” on top.
Wood chips from a wood chipper are ideal, as they have a bit more surface area than those from a wood shredder. But either will suffice. Be sure to always plant in the soil, and not in the wood chips themselves. When you need to plant new seeds, simply push the wood chips aside.
As the wood chips break down, they will provide extra nutrients to the soil, improve optimal moisture retention, and fight weeds.
4. Hugelkultur Bed
Hugelkultur—German for “hill culture”—is a style of gardening practiced in Central and Eastern Europe for centuries. Conceptually, it is quite similar to the core gardening approach. The goal is to create a moisture-retaining sponge at the heart of your raised garden bed.
Hugelkultur will have all the same benefits as core gardening: less watering, less weeding, fewer diseases, and stronger root systems. But it will be best with larger raised garden beds, and for gardeners who are willing to invest more time up front for longer-term benefits.
Rather than hay or compost, the hugelkultur method utilizes rotting debris like old logs and sticks, which you bury in the trench at the core. As these materials are larger, they can take longer to break down and create the sponge. However, when they do, they will make richer soil for longer, and as they break down, they will warm the soil, which is perfect in colder climates.
As you create the trench, make sure the sponge area is packed in. That means filling all the extra space around the sticks with leaves, clippings, and other organic material. And remember to water the material at the core thoroughly.
5. Lasagna Layers
Here is a methodology inspired by the concepts of hugelkultur, with a different twist. Rather than a single solid core at the center of the bed, this method utilizes even layers spread across the entire base of the bed. Start out with coarser brush and twigs, filling the bed up about 4” to 6”.
Then move on to a layer of finer organic materials: grass clippings, coffee grounds, and other compost. These two bottom layers will work to create the high-quality soil your plants will crave. From there, just add your topsoil and get to planting!
The layers approach has most of the strengths of the standard core hugelkultur approach to a slightly lesser degree. But it is easier to install and has the added benefit of excellent drainage.
The Final Word
Gardening is one of the most rewarding hobbies there is. But maintaining a full garden plot has a whole host of complications. The best way to get the satisfaction of gardening with significantly more convenience and ease of use is to use a raised garden bed. But how exactly do you fill a raised garden bed?
You may be wondering what I should put in my raised garden bed, but the fact is there is no one single style of soil that will be perfect for every garden. More important than picking the right bag of soil at the store is choosing the proper style.
Core gardening and hugelkultur are perfect for people who want to put in a little extra work early to keep your plants watered and weedless with minimal long-term effort on your part. Meanwhile, the Ruth Stout method and Back to Eden gardening are low-effort processes to create nutritious soil while letting the power of nature work for you.
No matter which specific method you choose, just follow along with our guide above, and you’ll know exactly how to fill a raised garden bed for cheap.