- Citrullus lanatus
- USDA Zones: 3-11
- Sunlight: Full Sun
- Soil type: Sandy
- Soil pH: 6.0-6.8
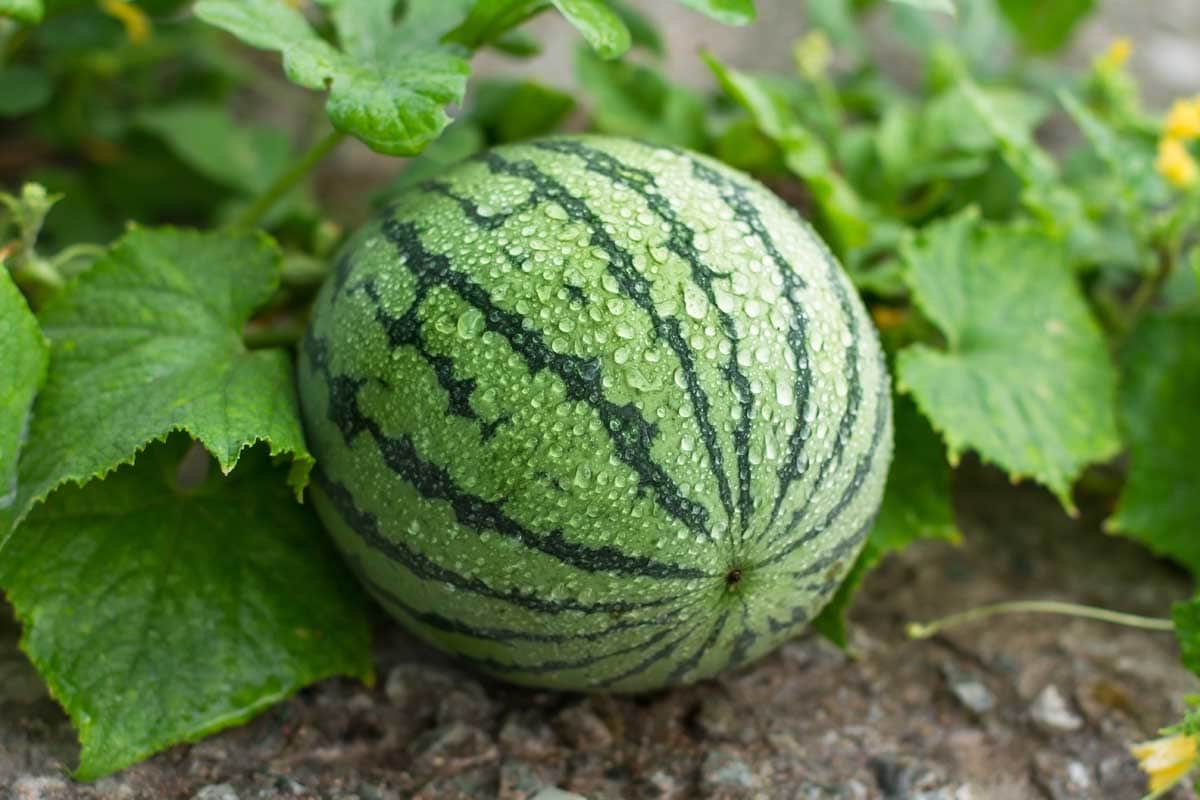
Watermelons are available in many sizes, shapes, and colors. The shapes vary from round to oblong, with colors ranging from light green to almost black. The fruit skin color can be solid, striped, or marbled. The edible portion of the flesh can be yellow, pink, pink-red, bright red, or deep red. An additional choice of seeded vs. seedless is also available.
Grow Watermelon from seeds or seedlings
Watermelon is very susceptible to frost damage, it requires a long growing season with relatively high temperatures. Daytime temperatures between 70 and 80 degrees F and nighttime temperatures between 65 and 70 degrees F are ideal. Plastic mulches will raise soil temperature and helps melons to mature several weeks earlier than normal. Individual melons also tend to be larger and sweeter. Select a site with Full Sun , no shade, or minimal shade.
Gardeners in northern areas should choose early varieties and use transplants. Mulching also promotes earliness by warming the soil.
Northern climate growers may also consider growing what has come to be known as “personal” watermelons, basically smaller melons, just as sweet and tasty as their big brothers from the south.
Plant after the soil is warm and when all danger of frost is past. Watermelons grow best on a sandy loam soil, although yields on clay soils can be increased significantly by mulching raised planting rows. As watermelon requires a relatively long/warm growing season it is advisable to start your seedlings indoors, and transplant into your garden when frost danger has disappeared.
Start the seeds inside 3 weeks before they are to be set out in the garden. Plant 2 or 3 seeds in peat pellets or peat pots and thin to the best one or two plants.
Transplanted watermelons will mature 10 to 12 days earlier than plants that are direct-seeded. Use of seedless varieties, is recommended if you are not seed saving. The seed-coat of seedless varieties adheres tightly to the cotyledons, so place seeds with the point up when starting transplants.
Watering
Who put the Water in the Watermelon? Watering is critical in growing watermelons. The key time to water is from the time the fruit begins to form until it is half-grown. Excessive watering too close to harvesting of watermelon will reduce the sugar content and cause the fruit to have hollow centers. Inexpensive water timers are available.
Check the soil moisture daily or more in hot dry weather and reapply as necessary before the melons go into stress. Always allow the top 1″to 2″of soil to dry between watering again. Watering early in the morning is advisable so leaves will dry before sunset, this will help to prevent fungal diseases.
Fertilizing Watermelon
A high phosphorus fertilizer promotes fruiting and is best suited for Watermelon. Weak and poorly maintained vines will produce poor quality fruits. Large vines will produce a higher quality sweeter melon. Use fertilizer with a ratio of one part nitrogen to four parts phosphorus when planting , [see our article Understanding fertilizer labels].
Nitrogen should be added 30 and 60 days after planting to keep the vines growing but in moderation as excess nitrogen will produce excess foliage at expense of the melon. Larger vines are acquired from lots of water and fertilizer, so be sure to leave plenty of room.
Minimum spacing for watermelons other than bush-type melons is 2X4 feet , even more if you have the room. Close planting results in poor fruit production. Occasional side dressing with liquid fertilizers such as fish emulsion or manure tea is also helpful, but remember to maintain a low nitrogen and higher phosphorous ratio. If heavy rainfall occurs early in the season apply an extra side dressing.
As the watermelons mature, they should be kept from direct contact with soil. This prevents rot and protects the ripening fruit from pests. The melons should be placed on a bed of straw, cardboard or even plastic mulch. Plastic mulches have many advantages , properly used they will increase yields, produce higher quality melons, enhanced insect and weed control and for the cooler climate gardeners earlier maturing crops.
Red Plastic Mulch has shown to be the best for Melons. See: Influence of Preharvest Factors in Melon Fruit Quality
Weed Control
Weed control in Watermelon is critical primarily in the watermelon plants early early stages. Once the plant is healthy and established it should be dominating the area . Cultivate shallowly near roots , very shallow.
See: Weeds: Control Without Poisons
Harvesting Watermelon
Determining optimum maturity of a watermelon can be difficult.
Many home gardeners experience difficulty in determining when watermelons are ripe. Use a combination of the following indicators:
- Light green, curly tendrils on the stem near the point of attachment of the melon usually turn brown and dry.
- The surface color of the fruit turns dull.
- The skin becomes resistant to penetration by the thumbnail and is rough to the touch.
- The bottom of the melon (where it lies on the soil) turns from light green to a yellowish color.
These indicators for choosing a ripe watermelon are much more reliable than “thumping” the melon with a knuckle. Many watermelons do not emit the proverbial “dull thud” when ripe. For these, the dull thud may indicate an over-ripe, mushy melon.
Harvest watermelons when: the stem starts to shrivel, the underside yellows and you when you knock the melon you get a dull, hollow sound …well – sometimes.
Related: Saving Melon Seeds